Custom Bizagi widget
An organizational chart, also known as an organigram, or organizational breakdown structure, is a diagram that displays the structure of a company and the relationships and relative ranks of its parts and positions.
Organizational chart features
- Zoom in / out
- Drag and move the diagram up, down, left, and right
- Collapse nodes up, down, left, and right
- Save the chart to PDF
How to configure the widget
1. Install the widget
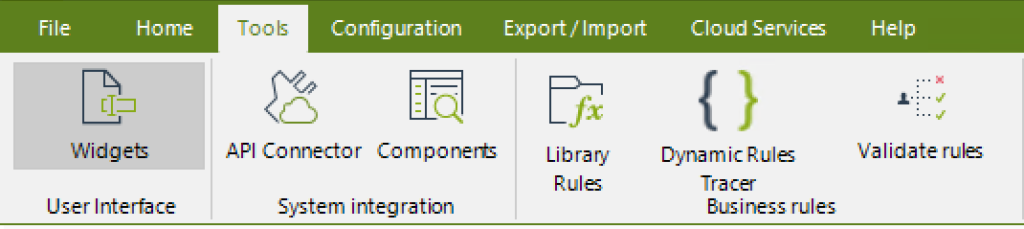
Go to Bizagi Studio and select Tools > Widgets.
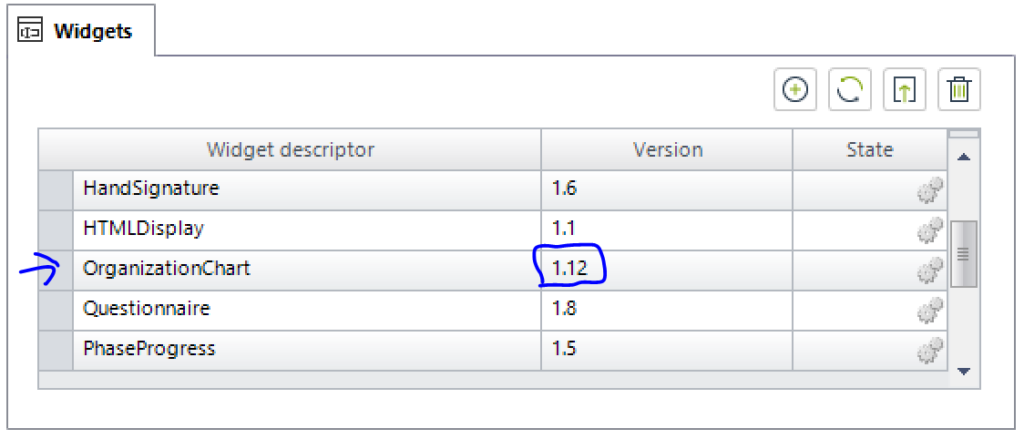
It will open a popup with all the widgets that are already installed on your machine. Select the plus icon and import the Organizational Chart widget.
2. Add the widget to the UI form
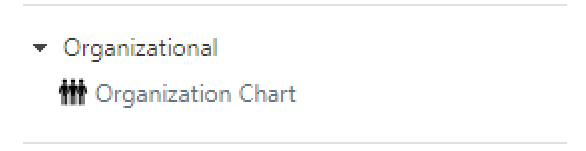
Open an existing form and navigate to the Controls tab. Search for the Organizational category, and drag and drop the widget into your form.
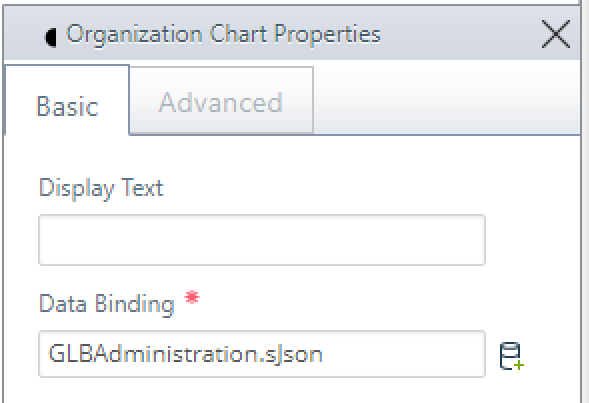
Select the widget and have a look at the right side of the window where the properties are displayed.
The first thing we have to do is to set the xpath value. Create an extended text attribute and map it as the xpath. The attribute will contain the JSON object (but in Bizagi it will be stored as a text).
On the second tab, you can set the option to export the chart to PDF.
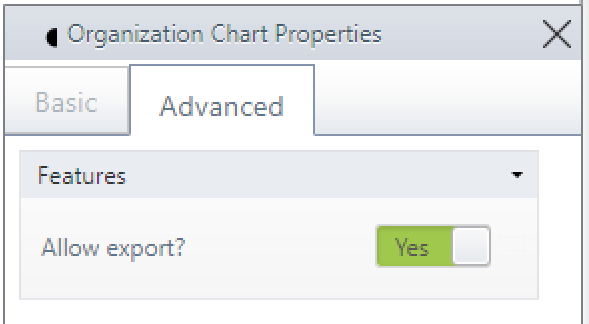
By default, the zoom option and the drag and drop functionality is enabled.
Input example
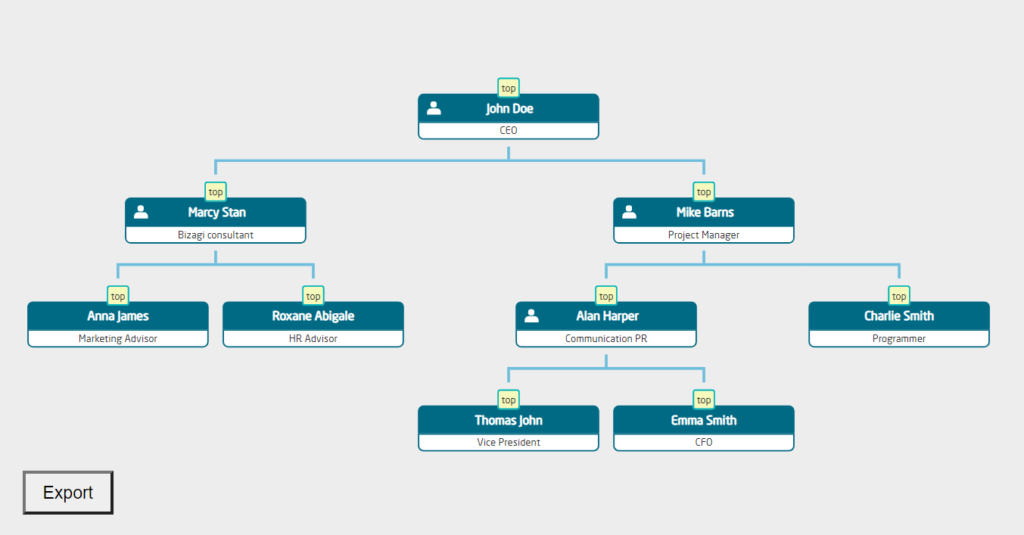
In order to display the chart, the widget’s input should look like the following string:
'[
{ "name":"Anna James", "title": "Marketing Advisor", "function": "top", "id": 56, "parentId": 62 },
{ "name":"Thomas John", "title": "Vice President", "function": "top", "id": 81, "parentId": 80 },
{ "name":"John Doe", "title": "CEO", "function": "top", "id": 74, "parentId": null },
{ "name":"Emma Smith", "title": "CFO", "function": "top", "id": 76, "parentId": 80 },
{ "name":"Roxane Abigale", "title": "HR Advisor", "function": "top", "id": 63, "parentId": 62 },
{ "name":"Alan Harper", "title": "Communication PR", "function": "top", "id": 80, "parentId": 86 },
{ "name":"Charlie Smith", "title": "Programmer", "function": "top", "id": 87, "parentId": 86 },
{ "name":"Marcy Stan", "title": "Bizagi consultant", "function": "top", "id": 62, "parentId": 74 },
{ "name":"Mike Barns", "title": "Project Manager", "function": "top", "id": 86, "parentId": 74 }
]'
Pass the above string to the custom widget and the hierarchy is automatically generated based on these 2 attributes: id and parentId. Actually, this is the parent and child relationship.
The other attributes are related to the name of the individual, the title or position in the company, and the so-called ‘function’ which is displayed on top of the node.
The structure can be modified as you prefer and the JS code is well written and documented.
How to generate the input in Bizagi
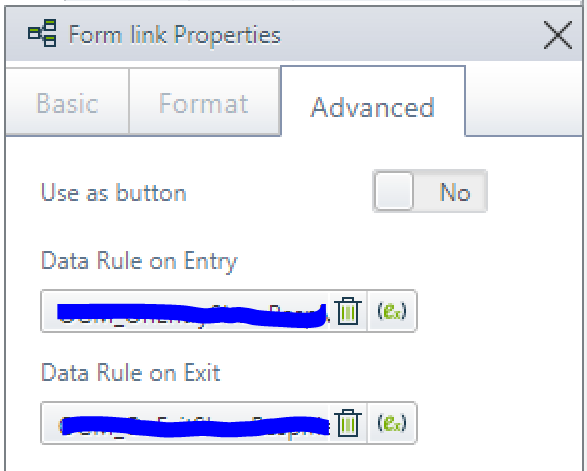
To display the widget I used a Form Link control. On Enter, I created an expression rule to generate the string. Basically, there is a simple way to do that. Iterate through your collection of Individuals and for each of them, map the corresponding attributes.
var oIndividuals = CHelper.GetValueAsCollection(<add here the collection's xpath>);

var iIndCount = oIndividuals.size();
var sJson = "";

if (iIndCount > 0) {
	// --- beginning of the array
	sJson += "[";
	for (var i=0; i<iIndCount; i++) {

		// --- beginning of the object
		if (i == 0)	sJson += "{";
		else sJson += ",{";

		var oIndividual = oIndividuals.get(i);
		var iChildId = oIndividual.getXPath("add here the xpath");
		sJson += " \"id\":"+ iChildId +",";

		var iParentId = oIndividual.getXPath("add here the xpath");
		if (CHelper.IsNull(iParentId)) iParentId = "null";
		sJson += " \"parentId\":"+ iParentId +",";

		var sName = oIndividual.getXPath("add here the xpath");
		if (CHelper.IsNull(sName)) {
			sName = "null";
			sJson += " \"name\":"+ sName +",";
		} else {
			sJson += " \"name\":\""+ sName +"\",";
		}

		// --- role or position in the company
		var sTitle = oIndividual.getXPath("add here the xpath");
		if (CHelper.IsNull(sTitle)) {
			sTitle = "null";
			sJson += " \"title\":"+ sTitle +"{,";
		} else {
			sJson += " \"title\":\""+ sTitle +"\",";
		}

		// --- the list of functions
		var sFunctions = oIndividual.getXPath("add here the xpath").ToString();
		if (CHelper.IsNull(sFunctions)) {
			sFunctions = "null";
			sJson += " \"function\":"+ sFunctions;
		} else {
			sFunctions = sFunctions.Replace("[", "").Replace("]", "");
			sJson += " \"function\":\""+ sFunctions +"\"";
		}

		// --- end of the boject
		sJson += "}";
	}

	// --- end of the array
	sJson += "]";
}
… and on Exit, I clean the generated string.
JS library
To build the custom widget I used the OrgChart library provided by dabeng.
It’s a simple and direct organization chart plugin. Anytime you want a tree-like chart, you can turn to OrgChart.
Xuebin Dong
For more features please go through the well-written documentation and also check the provided examples. The widget functionality can be extended using the online Bizagi widget editor.
Download
The widget can be downloaded from here: OrganizationChart 1.12
Of course, there is another way to build the widget, a more elegant way sort of say and that one is to accept a collection as an input. If you find yourself in a need of such a widget, please get in touch with us and we will assist you in building one.